How to create a course on Clickera
In this article you’ll learn how to create a course membership site using clickera. You can use it to create courses for anything from English lectures, to digital marketing, graphic design, etc…
Requirements:
- A clickera account
- Course content
Let's get started!
First start by logging into your clickera account. Navigate to “Products/Sales” and click (number 1 in the image below), on the drop-down menu click on “Courses” (number 2 in the image below).

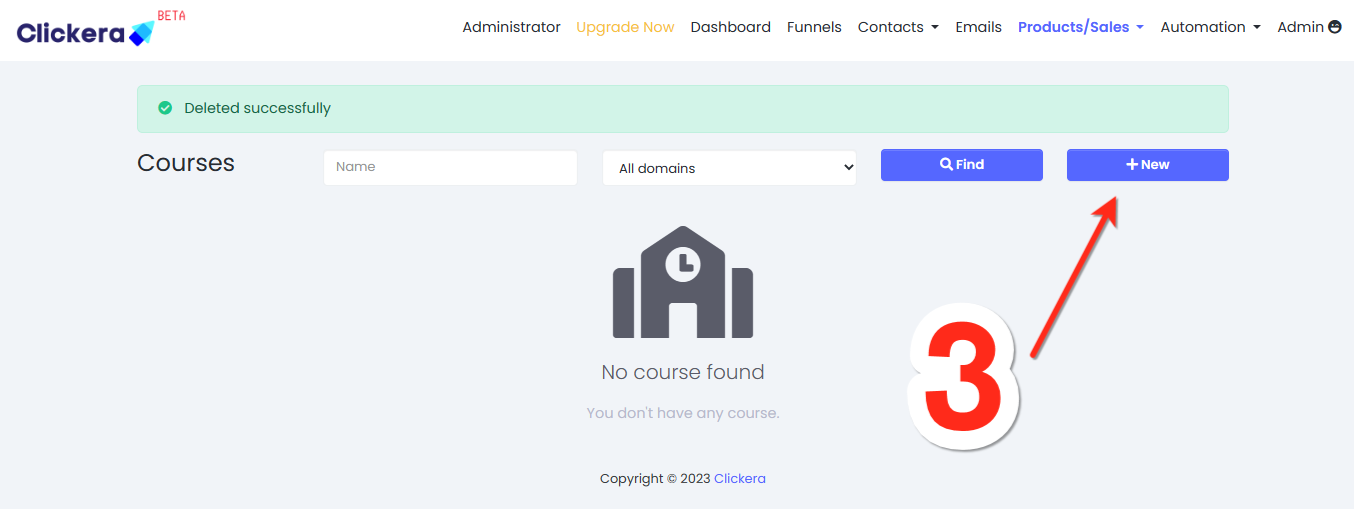
A new page will load, click on “New” (number 3 in the image below),
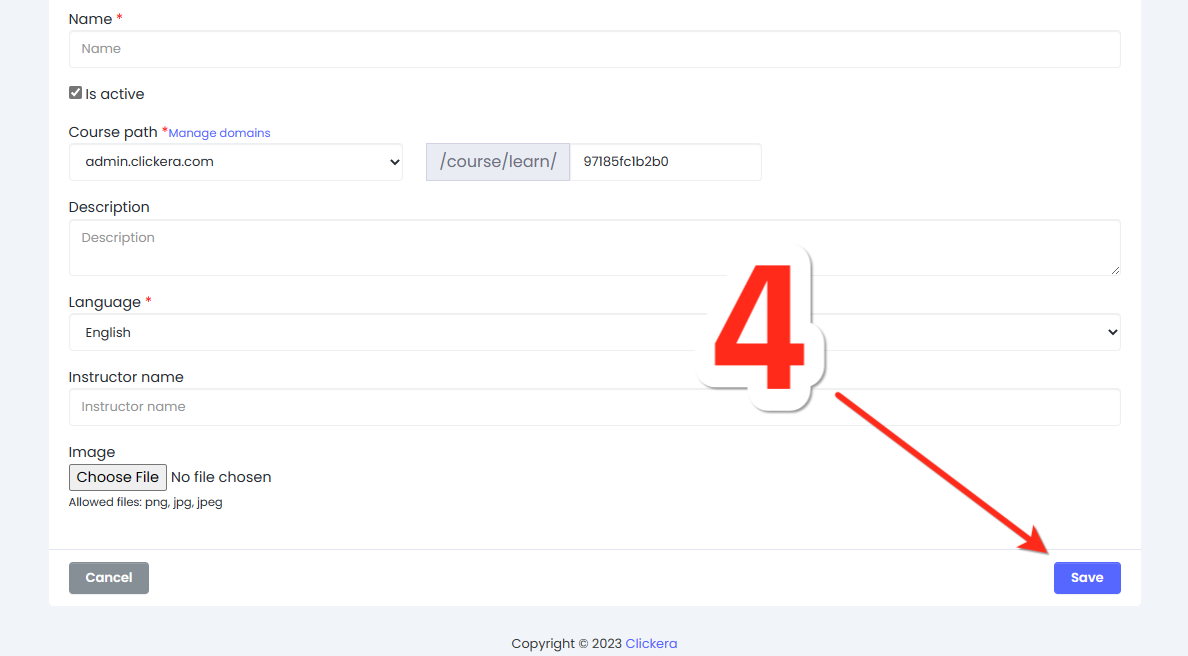
Another page will load. Now add your course information like the name of the course, description, instructor name, e.t.c… When you’re done click “save” (number 4 in the image below).
Course module creation.
Your course is now created and and you simply need to add some course modulus and lectures to your course. Modules and lectures will help your structure your courses in a more digestible way.
Let’s continue from where we left off. On the next page, click on “add module” (number 5 in the image below).

A pop up window will appear and you’ll be required to type the name of your "module" (number 6 in the image below). When you’re done click “save” (number 7 in the image below).

Course lecture creation.
Now it’s time to create the lectures. You’ll need a module to create a lecture so we’re hoping that by now, you already have a module created
Requirement:
- A module
Inside your course, click on “add lesson” (number 8 in the image below).

A pop up will appear, and you’ll be required to fill the following:
- Lesson name
- Lesson in module
- Delay before previous lesson
Under “Lesson name” (number 9 in the image below), you should type the name of the lesson.
The field named “Lesson in module ” (number 10 in the image below) will help you determine which module the lesson you’re creating belongs to. You need to create the module before creating a lesson.
“Delay before the previous lesson” (number 11 in the image below) determines how long it should take for a student to unlock lessons. When you set the value to 0, it means the students will instantly have access to the course. If you set the value to 1, it means the student will access the course after one day. You can set different delays for different lessons. For example, the first lesson can have a delay of 0, meaning the students will have access to it instantly, but you can set the delay of other lessons to 1, meaning the students will have access to the other lessons after one day. This method allows the students to unlock each lesson per day instead of having all lessons at once.
When you’re done, you select a “template” (number 12 in the image below) and click on “save” (number 13 in the image below).

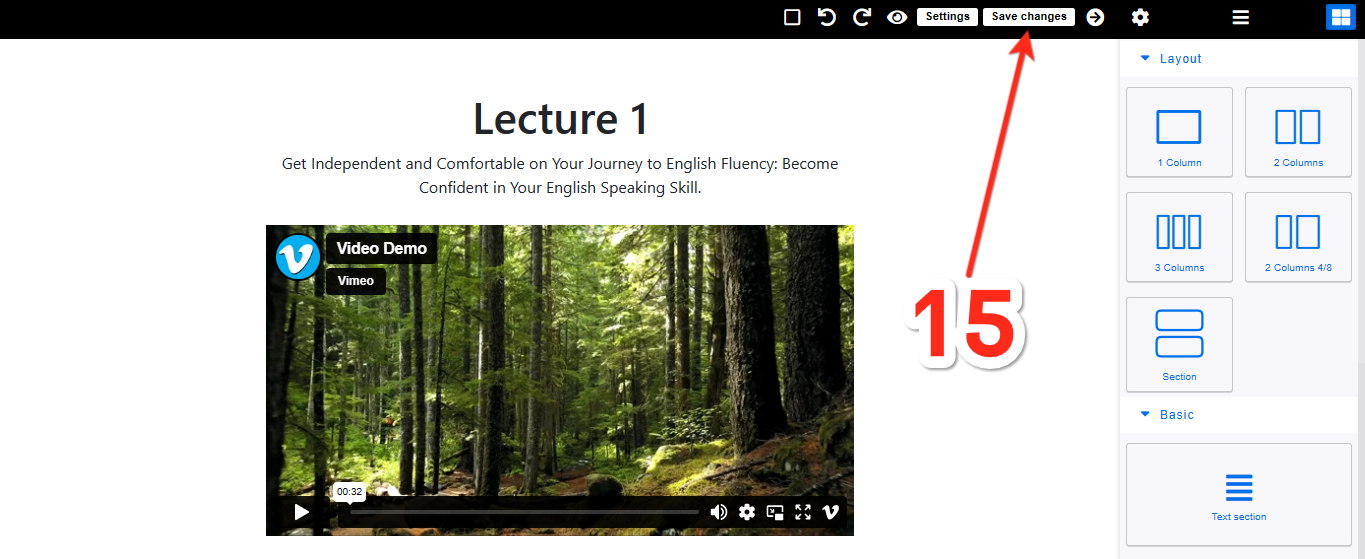
To customize the course content, navigate to the course you just created, and click the “magic wand icon” (number 14 in the image below).

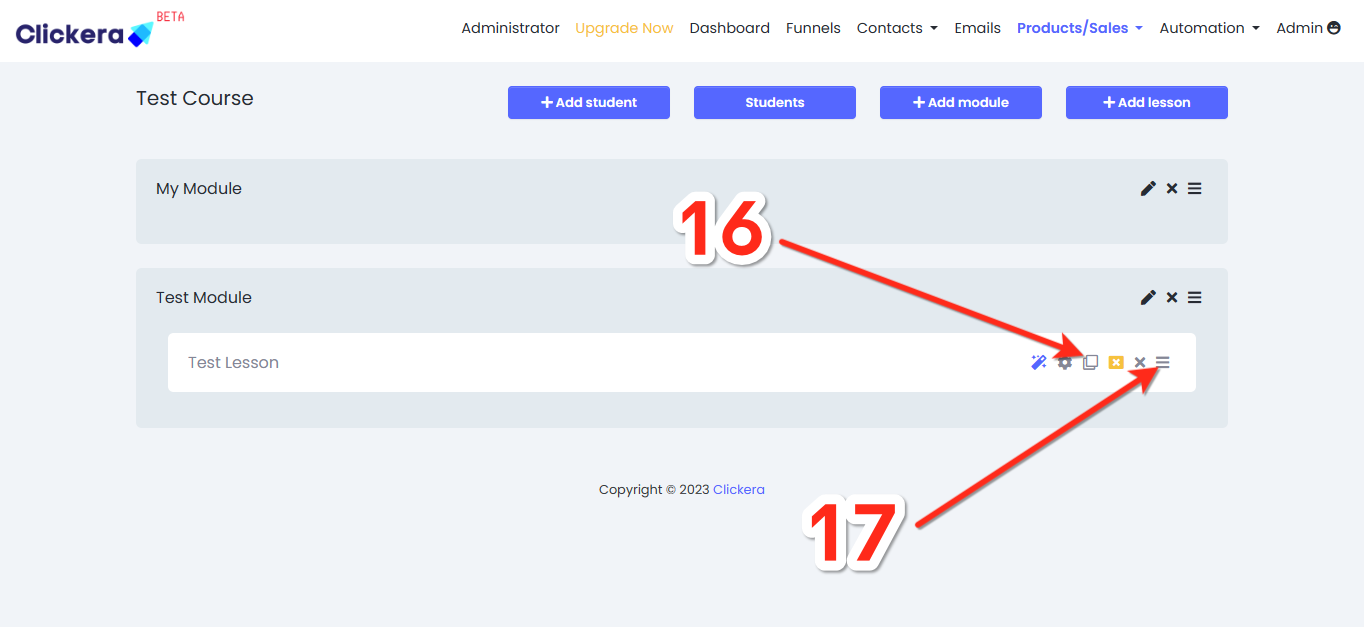
Edit your lecture until you’re satisfied with the way it looks and click on “save”
Important Note: To create other lectures you can simply repeat the steps stated above. A much easier way is to duplicate the lessons using the duplicate “button icon” (number 16 in the image below), and you can drag your lesson to any position, either on the current module (in a different position) or you can drag it into other modules (number 17 in the image below).